
Compatible flooring aboveFinish system
Selected epoxy or other approved flooringSpecify the full finish path and confirm that the moisture-control treatment supports the flooring and installation method.
Ships nationwideHazmat items are in-store pickup only10 locationsNow booking Oct & Nov training
Test the slab. Select the treatment. Connect it to the floor above with a specified moisture-control product path.
AquaStop F.C. and AquaStop E-96 are separate products. Use measured conditions and current documents to select the correct treatment.

Moisture mitigation is a treatment within a flooring project. The selected finish and every transition above the treatment must be compatible.
Specify the full finish path and confirm that the moisture-control treatment supports the flooring and installation method.
Follow the selected AquaStop and flooring documents. Do not add a generic sand broadcast or primer without approval.
Select one product against the measured slab conditions and current acceptance criteria. Confirm coverage and application requirements.
Establish the moisture condition, source of water and a sound, clean, profiled substrate before application.
F.C. and E-96 have different product-specific documents and limits. There is no universal AquaStop moisture rating on this page. A handheld meter image illustrates assessment; it does not establish acceptance or replace the specified test method.
Use the test method and acceptance criteria required by the selected treatment and flooring documents.
Compare F.C. and E-96 as separate choices. Confirm the exact product, substrate conditions and approved flooring interface.
Resolve how the next coating or flooring bonds to the treatment before installation, including any required preparation or transition.
Application examples guide the specification discussion. Confirm the complete assembly and actual service conditions before product selection.
Choose F.C. or E-96 for the specification. Do not stack both as a default treatment or transfer one product’s moisture limits to the other.
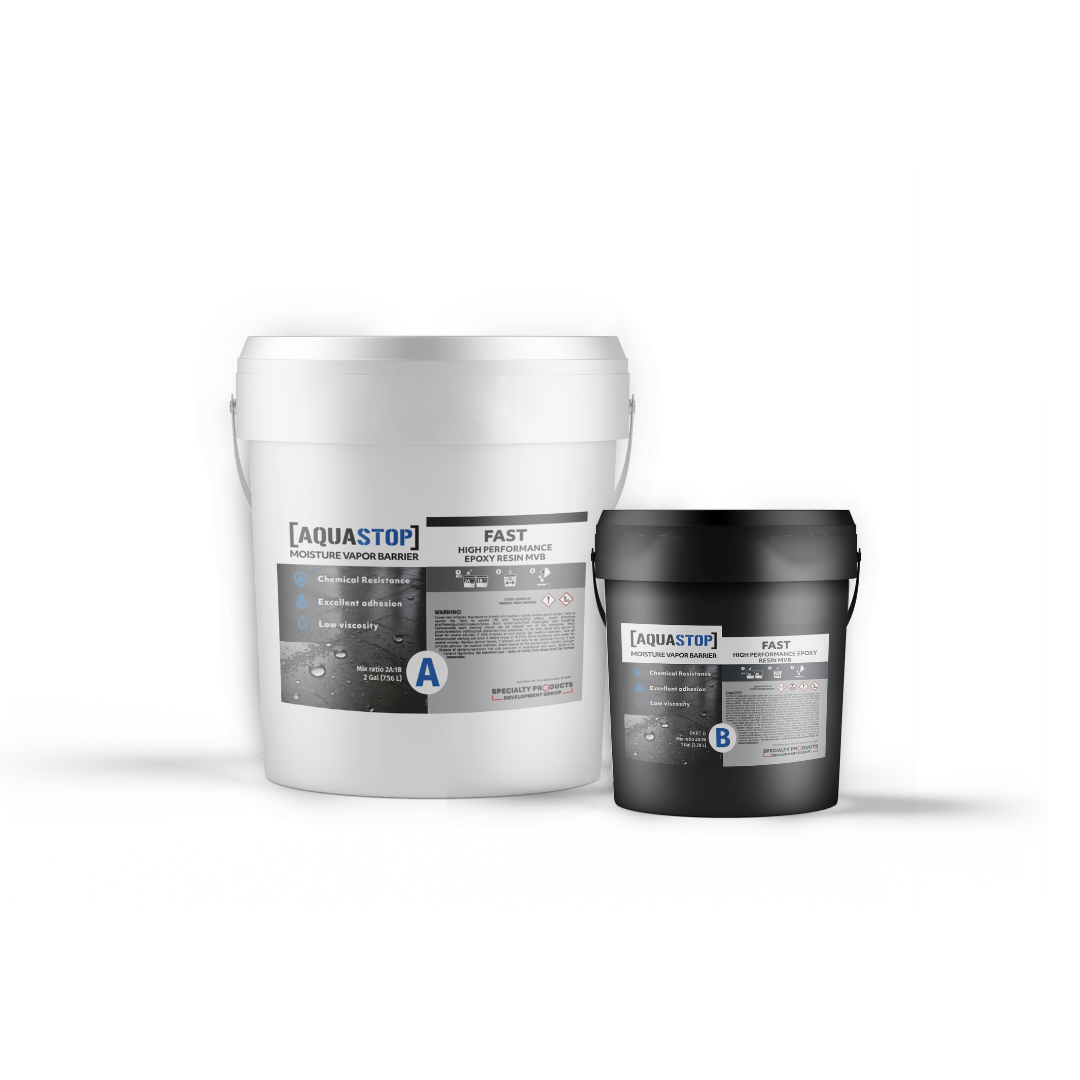
Select from its current TDS using the project’s test results and compatible flooring requirements.
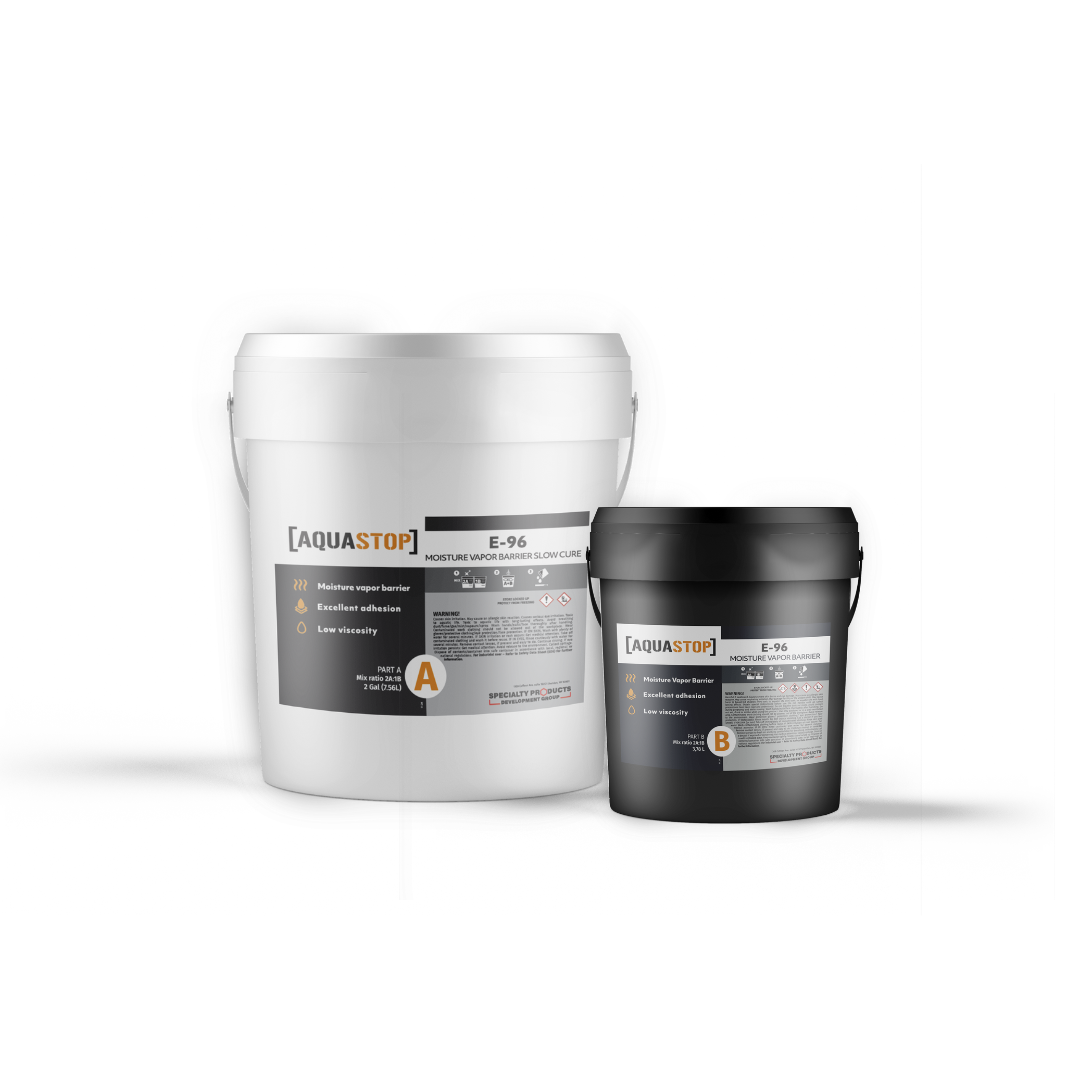
A separate AquaStop product; confirm its own limits and installation path.
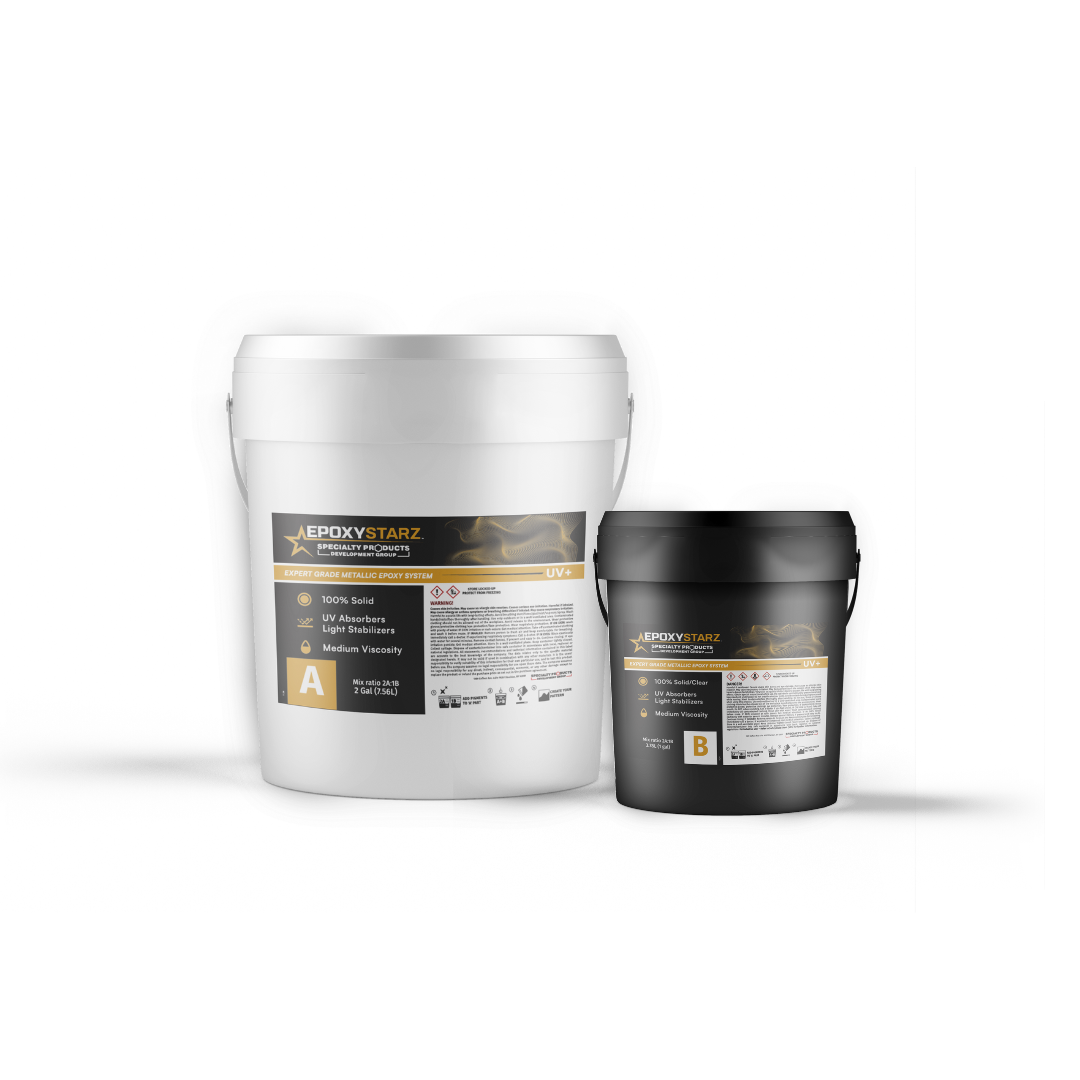
An epoxy option above a specified treatment. Confirm the complete interface and decorative finish.
Document slab history, damp areas, previous failures and potential water sources. Arrange the test method and locations required by the specified products; a handheld screening reading alone is insufficient.
Compare the current product’s acceptance criteria with the measured results and flooring requirements. Resolve inconsistencies with technical support before ordering.
Remove bond-breaking materials and mechanically prepare the slab as required by the treatment. Confirm how repairs, cracks, joints and penetrations are incorporated.
Follow the selected product’s coverage, application and cure requirements. Verify complete treatment and the approved recoat preparation or transition into the next flooring layer.
Retain test reports, product and batch information, preparation records and application conditions. Give the next trade the approved interface and timing requirements.
Ask for the test basis. Your proposal should explain which tests were used and how the results support the selected product.
Discuss water sources. Tell the installer about flooding, leaks, damp areas and previous floor failures.
Choose the finish early. The treatment must work with the actual flooring planned above it.
Keep the records. Retain testing and installation documents with the final floor specification and maintenance information.
Ask a system question ↗Read the TDS for preparation and application, and the SDS for handling. Request written guidance when the complete assembly needs confirmation.
Supplied moisture-assessment reference. The handheld tool shown is not a substitute for the specified slab test.
Get the products, project conditions and next steps clear before installation.
It is generally a treatment below compatible flooring. The floor above determines the final appearance and service surface. Specify the treatment and its interface with that actual finish before starting.
Test and assess the slab against the requirements of the selected flooring path. A moisture-control treatment is added when specified; it is not automatically required for every floor.
They have separate technical documents and product-specific requirements. Select the exact product for the measured conditions and flooring interface, and obtain approval before substituting one for the other.
A handheld reading can help identify areas for investigation, but it does not by itself establish compliance with the selected product’s moisture acceptance criteria. Use the specified test method and documented results.
Do not treat a coating as a general solution for active water ingress or unresolved hydrostatic pressure. Investigate and address the water source, then seek approval for the remaining substrate and flooring conditions.
No universal interface is assumed. Confirm compatibility, recoat preparation, timing and any required primer or aggregate with the treatment and flooring manufacturers before installation.
Products, documents and support for the next step.