
Estimating guide
Estimating a full-broadcast flake floor
A usable estimate accounts for the measured floor, every system layer, repairs, edges, waste, packaging and the realities of keeping a wet installation moving.
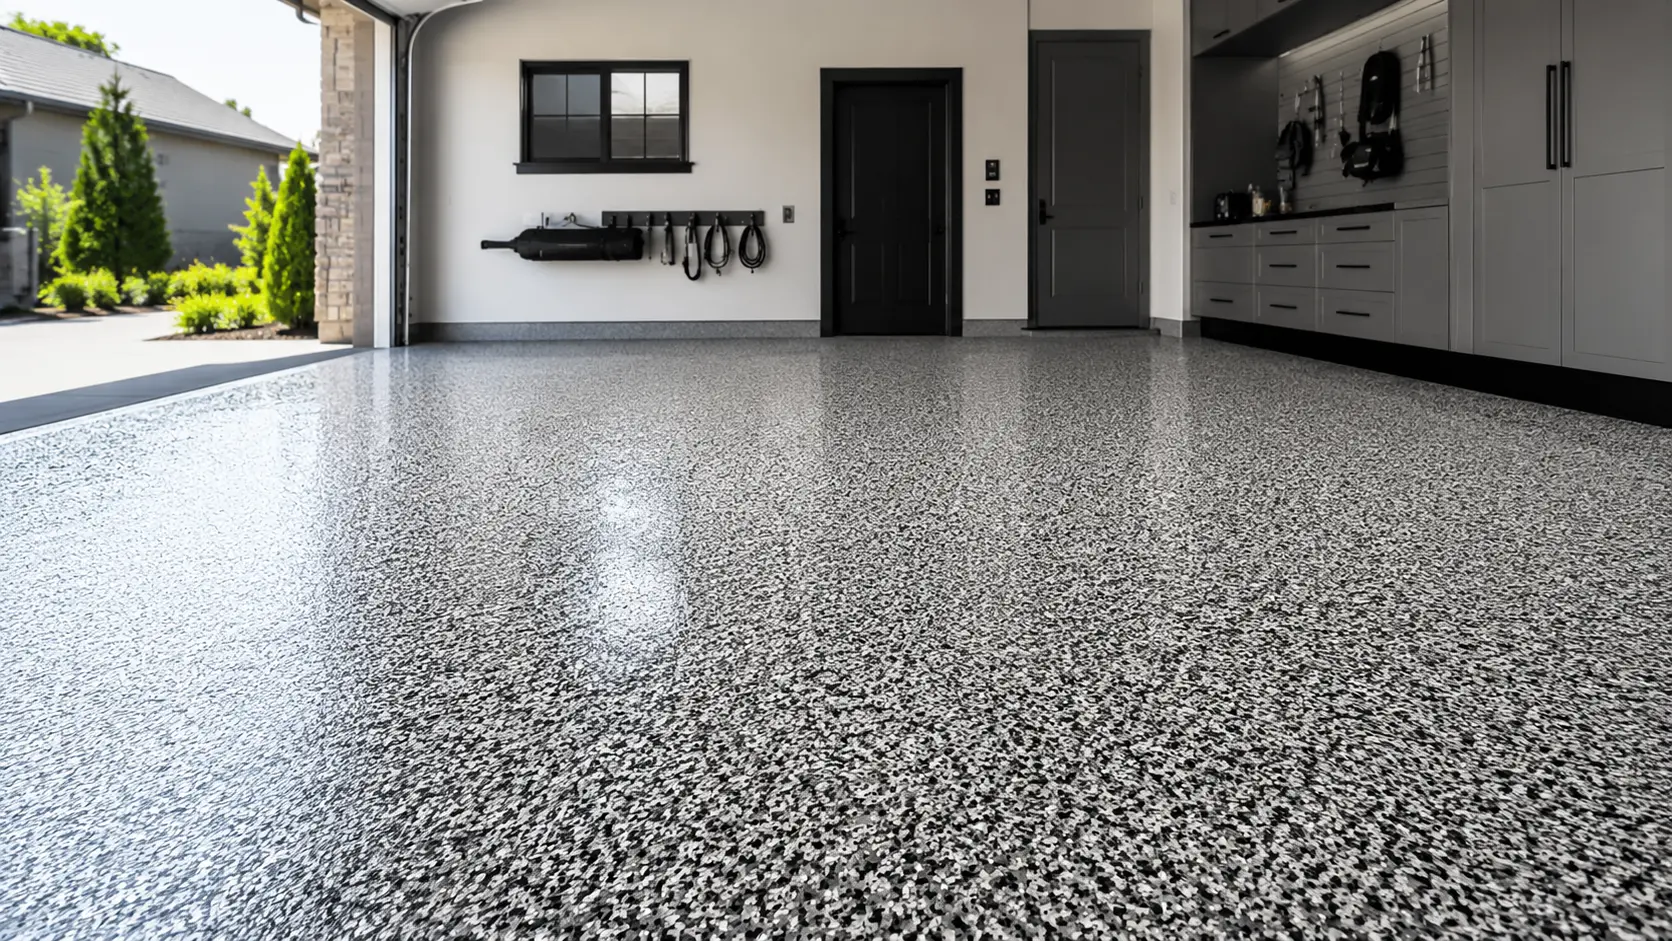
Do not estimate a full-broadcast floor as one coverage number. Build the quantity from a field measurement and calculate primer, broadcast coat, flake and topcoat separately.
1. Measure the actual installation area
Break the floor into simple shapes and calculate each area. Subtract only spaces that truly will not be coated. Add vertical returns, stem walls, steps, curbs or other coated surfaces as separate measurements so they are visible in the estimate.
- Record length and width rather than relying on a listing or plan total.
- Note drains, transitions, equipment pads and access constraints.
- Separate rooms or phases that cannot be installed in one sequence.
- Keep the field sketch with the estimate.
2. Write the system layer by layer
List the exact primer, repair materials, base or broadcast coat, decorative flake and topcoat specified for the project. Include optional layers only when they are actually part of the approved build. This prevents a generic “epoxy kit” assumption from hiding a missing product.
3. Use current product coverage
Pull the recommended application range and packaging information from the current technical data for each product. Coverage can change with surface profile, porosity, film thickness, temperature, application method and aggregate or flake texture.
Measured layer area ÷ planned coverage per package = base package quantityRound to whole purchasable package sizes, then account for the practical reserve required for that layer and job.
4. Treat full broadcast as its own operation
A full broadcast requires enough flake to keep the wet coat completely covered throughout the placement. Estimate from the flake supplier’s current guidance and the crew’s recovery practice. Include material that will remain on the floor, material recovered for approved reuse and material lost to edges, mixing, contamination or cleanup.
5. Add what square footage does not show
- Crack, spall and joint repair quantities.
- Edges, verticals, coves and detail work.
- Mixing losses and material left in pails or tools.
- Porous or heavily profiled areas that consume more material.
- Packaging increments, tint units and compatible components.
- A reasonable project reserve based on crew experience and risk.
6. Convert quantities into a production plan
Check batch sizes, mix ratios, working time and crew assignments against the measured sections. Confirm that the planned quantity can be staged and mixed without creating cold joints or exceeding product limits. Review the estimate one final time against current technical data before ordering.
Check the material plan
Need help reviewing the floor build?
Bring the measured area, selected products, planned layers and project conditions to the team.