
Surface preparation guide
How to prepare concrete for a resin floor
A durable coating build starts with a slab that has been evaluated, repaired, profiled and cleaned for the specific system going on top of it.
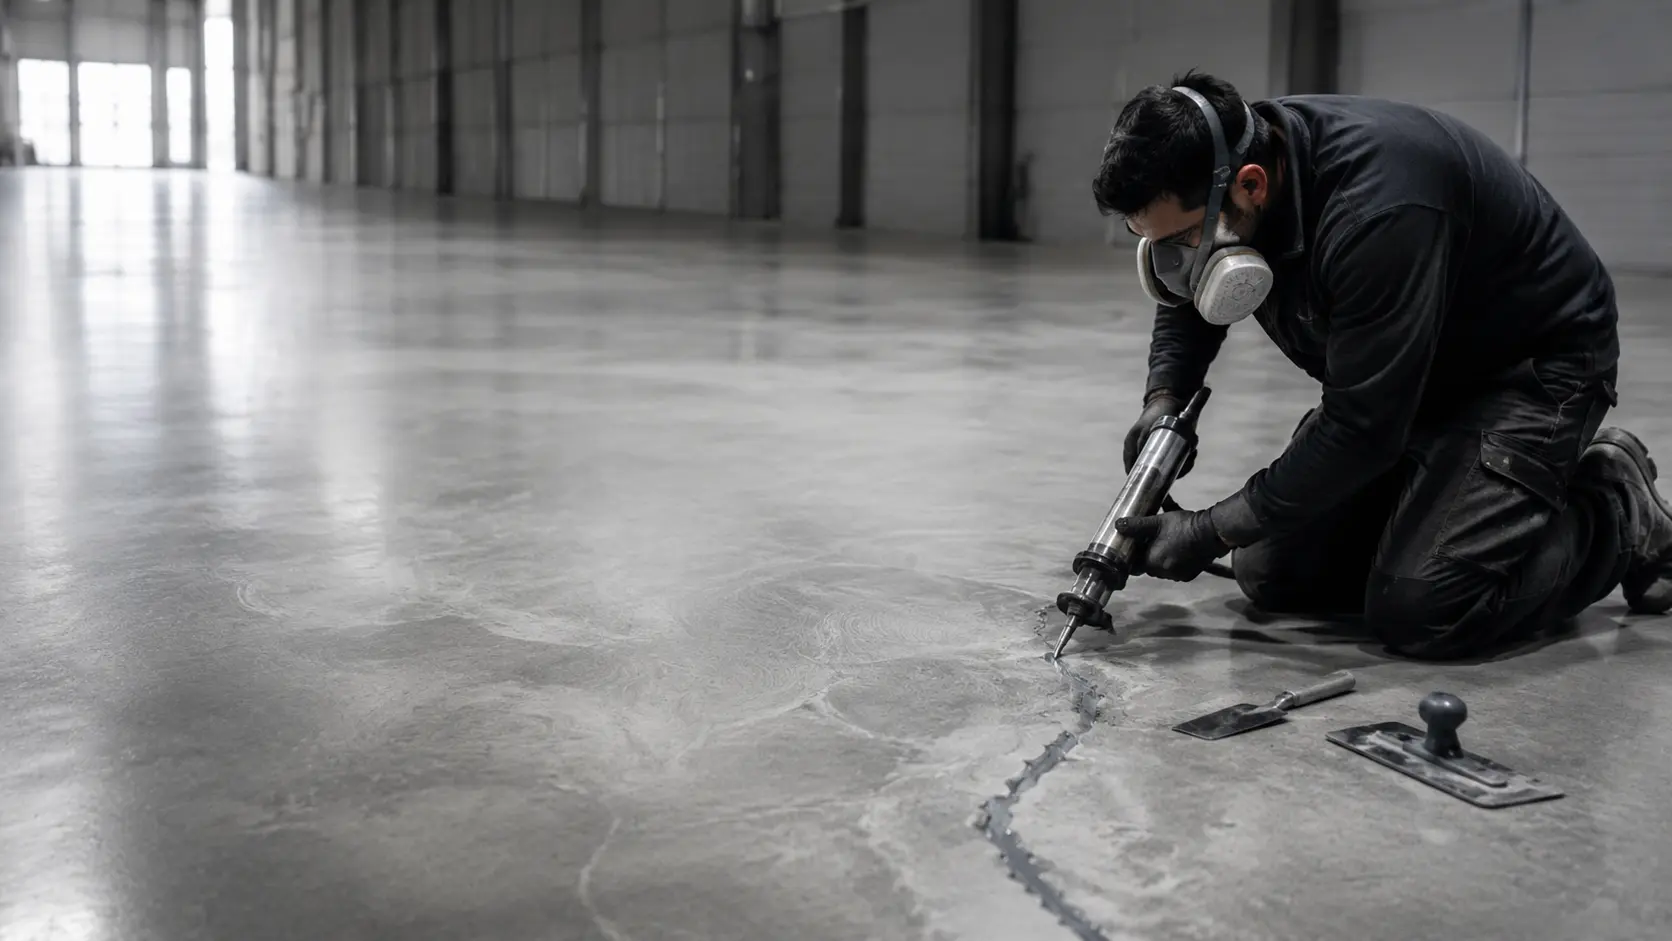
Preparation is not a single grinding pass. It is a controlled sequence that begins with understanding the concrete and ends with verifying that the surface is ready for the selected product.
1. Evaluate the slab before choosing the process
Walk the entire area in good light. Record cracks, spalls, joints, previous coatings, laitance, curing compounds, oil, adhesive, moisture-related signs and transitions in elevation. Note areas where the slab sounds hollow or appears weak.
The preparation method should respond to what is actually on the floor and to the profile required by the coating system—not to a one-size-fits-all routine.
2. Remove contamination and failed material
Oil, silicone, wax, adhesive, sealers and other contaminants can interfere with adhesion even after the surface looks clean. Determine what the contaminant is and use an appropriate removal process. Mechanically remove unsound concrete and any existing coating that is not being accepted as a suitable substrate by the current system instructions.
3. Repair defects with the floor build in mind
Route and fill cracks or defects when appropriate for the repair material and intended system. Rebuild damaged edges and spalls, then allow repairs to reach the condition required for further preparation or coating. Treat moving joints according to the project design rather than simply burying them under a rigid layer.
4. Create the required surface profile
Use grinding, shot blasting or another suitable mechanical method to remove surface weakness and expose sound concrete. The required profile depends on the product and system thickness. Use the current technical data and project specification to set the target.
- Match diamonds, tooling and machine weight to the slab and material being removed.
- Plan edge work so the perimeter is prepared to the same standard as the open floor.
- Keep passes organized and inspect for smooth, glazed or missed areas.
- Control dust with correctly matched extraction equipment and maintained filters.
5. Clean without recontaminating
Vacuum the floor thoroughly with suitable equipment, including edges, joints and repair zones. Avoid leaving fine dust, cleaning residue or materials that can interfere with wetting and bond. Protect the prepared area from traffic, overspray, oil and other trades.
6. Verify conditions immediately before coating
Confirm moisture-test results, slab and ambient temperature, humidity, dew-point margin and the condition of the prepared surface. Recheck the product mixing, induction, recoat and application requirements. A test area can help identify unexpected wetting, color or adhesion concerns, but it does not replace the required evaluation.
Plan before the machine starts
Need help matching preparation to the system?
Bring the slab condition, intended system and project schedule to the U.S. Resin Supply team.